Tattooing Process: How Tattoos Work (9 Steps)
With the increase of tattoos in the country, it is safe to say that almost every person has at least one tattoo. The reason for such a spike in tattoo appointments lies in the fact that tattoos aren’t a taboo topic anymore.
Before, body art was generally associated with something of a negative connotation; like biker gangs, mafia, the underground lifestyle, and people with a questionable background. But, times have changed, and we’ve realized that tattoos are just a fun way of expressing oneself. Nothing wrong with that!
However, many people don’t really think of how tattoos work and what the process looks like. Rarely do people research such an important aspect of getting inked; for example, many worry about the pain, but not a lot of people worry about the ink safety or ink allergies.
Therefore, in the following paragraphs, we’ll walk you through the entire tattooing process; from the tattoo appointment to the aftercare routine. So, without further ado, let’s get started!
Tattooing Process: How Tattoos Work (9 Steps)
Step 1 – Choosing the Right Tattoo Salon/Tattoo Artist

Before you set a tattoo appointment, you have a lot of homework to do. You cannot just go to any random tattoo studio and get inked (unless you’re looking to get a walk-in tattoo). Instead, you need to find the best of the best and get tattooed by an experienced professional; this way you can avoid a lot of potential tattoo issues in the long run (more on that later). Here’s how to choose the best tattoo salon and tattoo artist;
- Run through all of the tattoo studios in your area; use Google maps to check the salons out, their exact location, and possibly a link to their website or online portfolio. This is a great opportunity to check online reviews and Google starts as well.
- Make sure to check the studio’s portfolio thoroughly; this will help you determine the style of tattoos they offer and see whether that’s something you want to go for.
- Consult with your tattooed friends and check whether they know or recommend a particular tattoo salon/tattoo artist. Ask them about their experience and whether the studio is safe and reputable.
- Once you’ve narrowed down the list of potential studios, give each a call and schedule a consultation. Check the safety and cleanliness of the salon, as well as the tattoo artists that might potentially tattoo you.
- Once you’ve chosen one particular tattoo studio, make sure to schedule an appointment to get inked.
Step 2 – Choosing the Perfect Tattoo Design
You can come to a tattoo appointment with a ready image or idea of what you want to get as a tattoo. On the other hand, you can consult your tattoo artist on the improvement of that idea, or see whether the artist can provide a better, more original design.
Either way, you need to talk to your tattoo artist about the design and the style of the tattoo, its size, color, and potential placement.
If you don’t know what to get tattooed, the tattoo artist will provide their input, present some ideas and come up with something that you might like, while consulting you directly.

Step 3 – Choosing the Tattoo Placement
Just as it is important to choose the right tattoo design, it is also important to know where you’ll place the design on your body. Finding the perfect spot can be harder than you think.
Your tattoo artist will explain which tattoo placement will hurt you the most, considering the tattoo size, as well as the discussed body areas. Unless you have a particular placement preference, it is best to avoid high-pain areas (where there are a lot of bones and thin skin with numerous nerve endings). This especially applies if it’s your first time getting tattooed.
The tattoo artist will also talk to you about areas where tattoos fade the quickest (areas with a lot of friction and exposure to sun/water, like hands and feet).
Considering all of the provided information, you’ll choose the perfect tattoo placement with the help of your tattoo artist.
Step 4 – Finishing Up The Paperwork and Payment
After the tattoo discussion is all done, you will have to complete some paperwork regarding your ID, age, phone number, address, etc. This is essential so that the tattoo artist knows you’re not underage or getting a tattoo without adult supervision (this depends from state to state).
Then, you’ll have to pay up. Generally, once you’ve discussed the tattoo design, size, color, and placement, the tattooist will provide you with the total cost of the whole process. The practice is to pay before the tattooing starts.
You’ll have to see whether the studio accepts your preferred payment method as well. Once you pay, make sure to get a receipt, and keep in mind that you’ll also have to tip the artist once the tattoo is done.
Note: Small, simple tattoo can cost between $50 and $100, but the price can sometimes go up to $200. Large, colored, more elaborate tattoos tend to cost up to several thousand dollars. Regardless of the tattoo cost, you’re expected to tip the tattoo artist an additional 10% to 30%.
Step 5 – Tattoo Preparation
This is the most exciting part of the whole process; actually getting tattooed. Once you get in that tattooing chair, there is no going back. Here’s what your tattoo artist will do at this point;
- The whole tattooing area, including the chair and the tools, will be already cleaned and sterilized, even before you get into the chair. If you, for any reason, don’t think everything’s sterilized and cleaned, make sure to ask and check with your tattoo artist.
- Depending on your tattoo style and placement, you will either be seated in a dentist-style chair, a table chair, or a bench. If your particular chair isn’t comfortable for you, make sure to let your tattooist know.
- The area of your body, where the tattoo will be placed, needs to be prepared; this comprises cleaning of the area, using rubbing alcohol, and in some cases even shaving. It is recommended that clients come to their tattoo appointment already cleaned and shaved.
- Then, your tattooist will create a stencil of your tattoo design. The stencil will be placed onto your body to create an image transfer. To stick the stencil to the skin, your tattooist might use deodorant or soap to moisten up the skin. After the transfer is complete, the stencil paper will be removed, and you’ll be left with an outline of your tattoo.
- At this point, the tattoo artist will prepare the necessary equipment and check with you if it’s okay to start tattooing. The equipment should be completely sterilized and brand new in cases of needles, gloves, etc.
- If you’re allergic to latex, make sure to ask your tattooist to use nitrile gloves.
Step 6 – Getting Tattooed
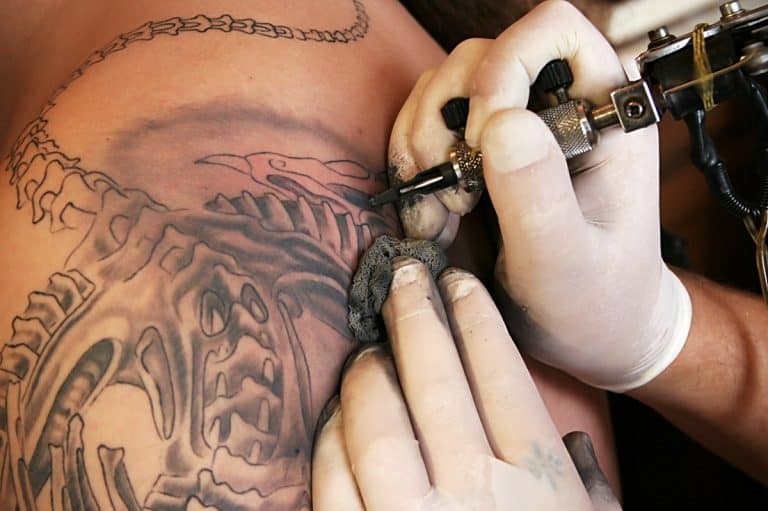
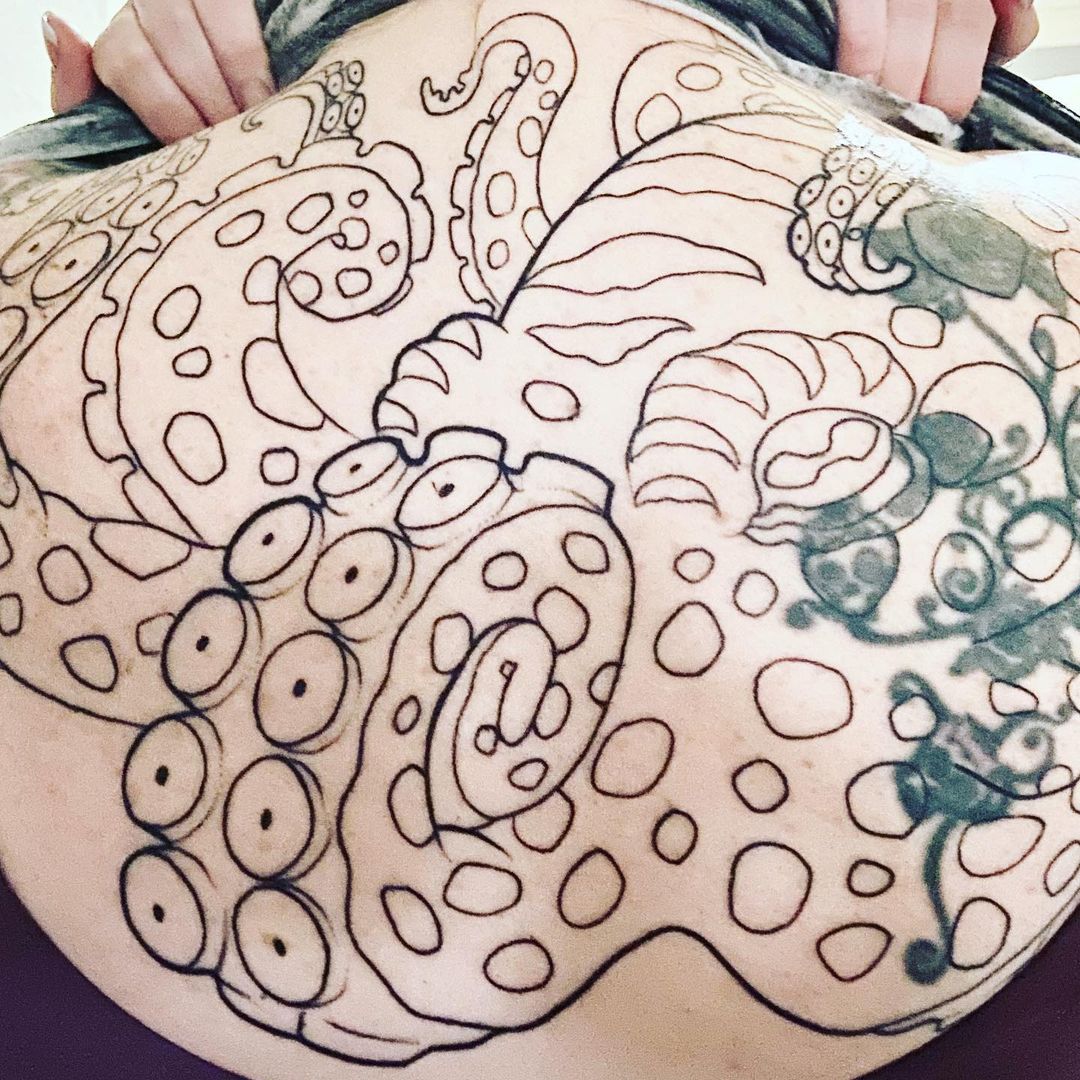
At this point, your tattooist will start to tattoo the first line. It is fair to say that the first few seconds are the worst, since you’re getting used to this new sensation. After a short while, you will get accustomed to the feeling (and the slight discomfort or pain).
Your tattoo artist will first complete all the linework of the tattoo. Once this is done, it is time to complete the shading of the tattoo, and coloring, if you’re going for that. At this point, the tattooist will switch between different needles, or even machines, to ensure the shading and coloring are done quickly and efficiently.
The very tattooing process can last anywhere between one hour to a few sessions. This, of course, depends on the size of the tattoo, and how elaborate the very design is. The placement of the tattoo can also contribute to the number of sessions you may require.
Step 7 – The Finishing Touch
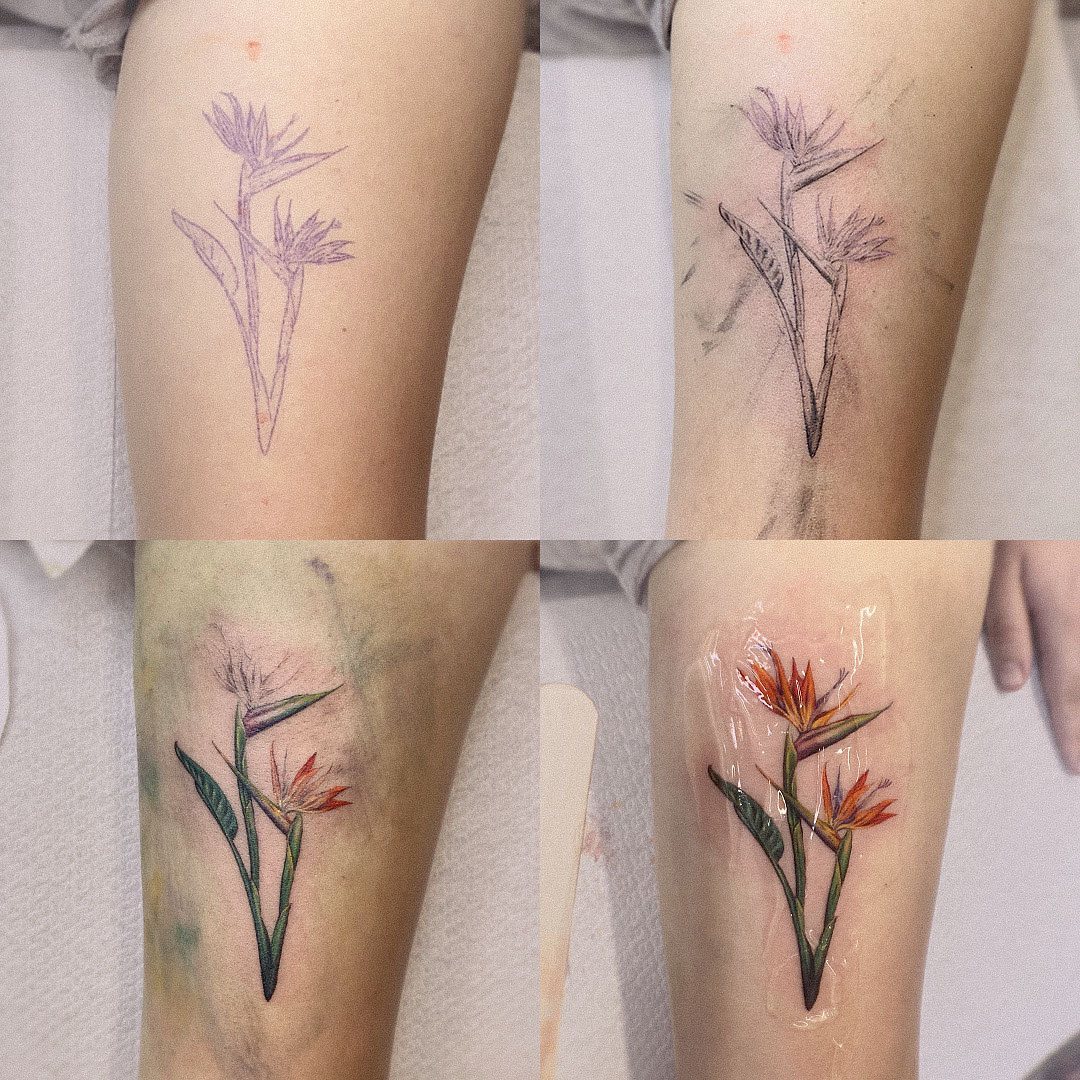
Once the tattoo is done, your tattoo artist will clean up the tattoo or apply a hot towel to calm down the tattooed skin. Then, they will apply protective ointment and take a picture of the tattoo for their portfolio. However, if you don’t want them to take a picture, you can always say so.
After the photo session is done, the tattooist will wrap your tattoo, using wrapping tape and a bandage. Remember, a new tattoo is treated as a wound, so you will hear a lot about aftercare from your tattoo artist.
Step 8 – The Aftercare Guide
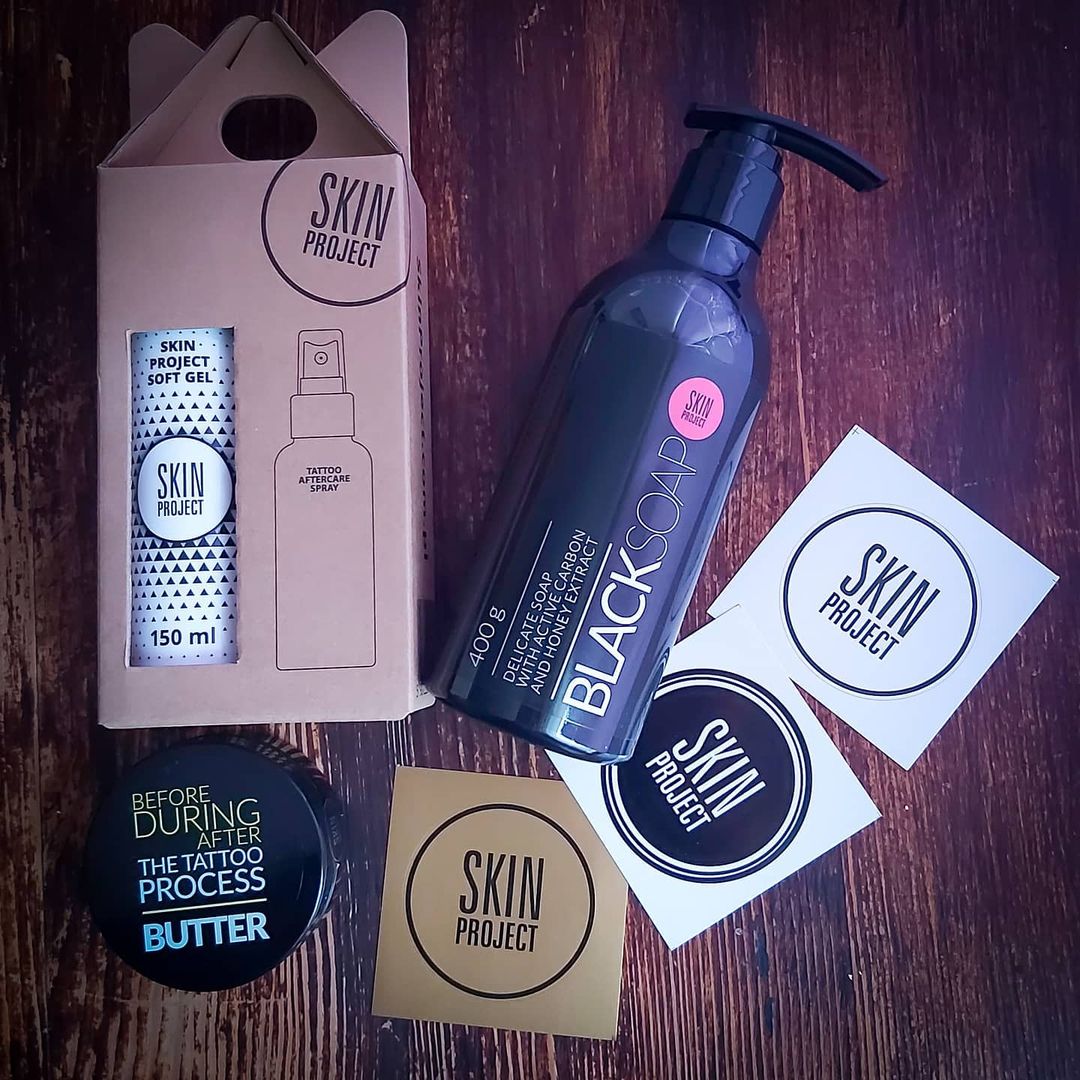
After every tattoo session, the tattooist will provide you with proper aftercare instructions. They will instruct you on how to clean the tattoo, how to moisturize it, and what products to use. They might also mention some unwanted side effects and warn you about tattoo infection and what to do if something like that happens. It is always important for a tattooist to talk about health risks that come with tattooing, like ink allergies, rashing, skin swelling, etc.
Step 9 – Caring For The Tattoo (After It’s Healed)
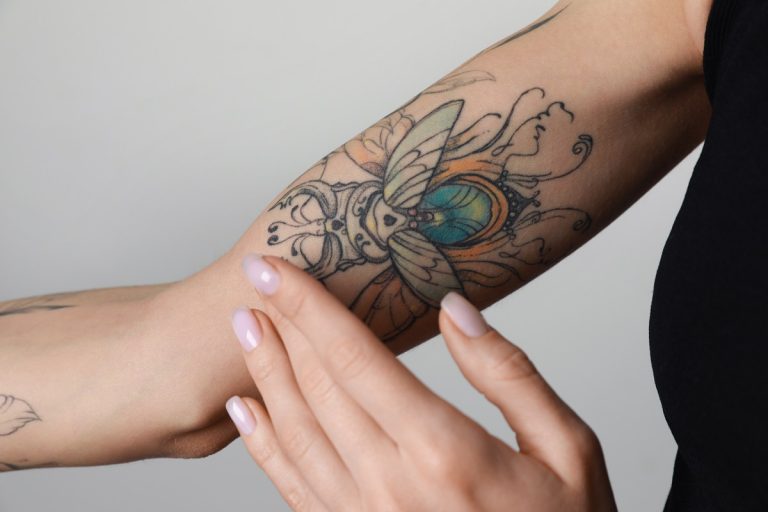
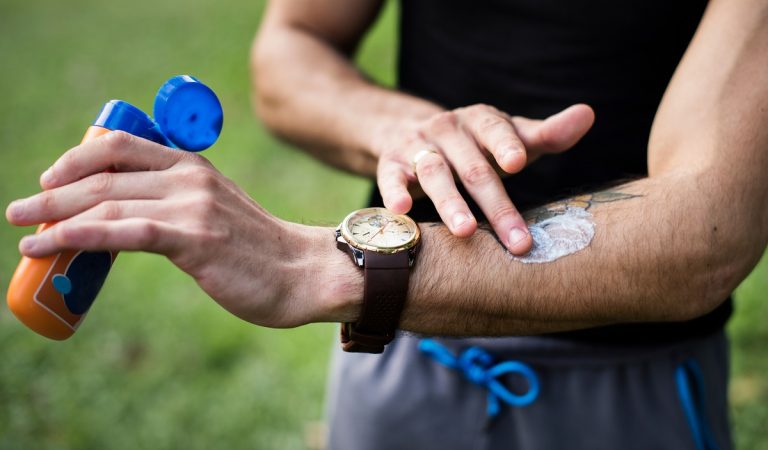
Even though this step isn’t a part of the direct tattooing process, but it surely is a part of owning a tattoo. Even after it’s healed, you still need to take care of your ink to prevent premature fading and wrinkling. Sunscreen application is a must with tattoos, especially during hot summer days.
It is also essential to keep moisturizing your tattoo to keep it vibrant and radiant even years after you got it.
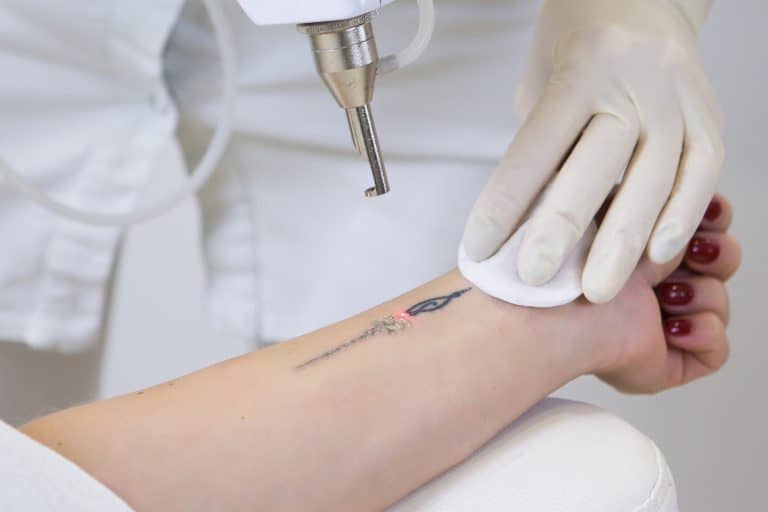
If your tattoo starts fading, make sure to contact your tattoo artist for a touch-up. If you’re going to the same tattooist who has done the tattoo, chances are you can get a pretty good discount for the touch-up.
And, That’s It!
Hopefully, our step-by-step guide through the process of tattooing was helpful and informative. For more information on tattooing, make sure to check out our other articles, and of course, talk to your tattoo artist. Even though the process may seem exhaustive, it moves pretty quickly, so you don’t have to worry about it taking a lot of time.
Sure enough, the majority of the process is taken by the aftercare, since tattoos take from few weeks to few months to fully heal. If during the aftercare you notice redness, swelling, rashing, or oozing of the tattoo, chances are you’re dealing with an infection. In that case, seek medical help and contact your tattoo artist for more information.
- Safe, non-toxic plant-based temporary tattoos made with 100% high-definition printing for a realistic look without the pain
- Easy to apply and remove - just stick for 20 seconds then take off
- Set includes 5 sheets with 17 fun, delicate designs like hearts, cats, smiles, suns, moons, and more
- Waterproof and long-lasting - stays on up to 2 weeks of wear
- Fashionable for women, men, girls and boys
- Place on arm, wrist, neck, leg, finger, waist, foot and more
- Great for parties, birthdays, and showing your unique style


